Understanding GB-Console
The logic layer
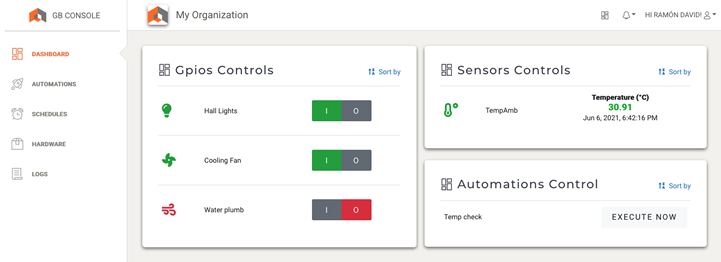
Think of this layer as the container for every device on your premises. An Organization is the unit that groups all the devices, controls, schedules, automations and users that share the same resources in the dashboard.
The hardware layer
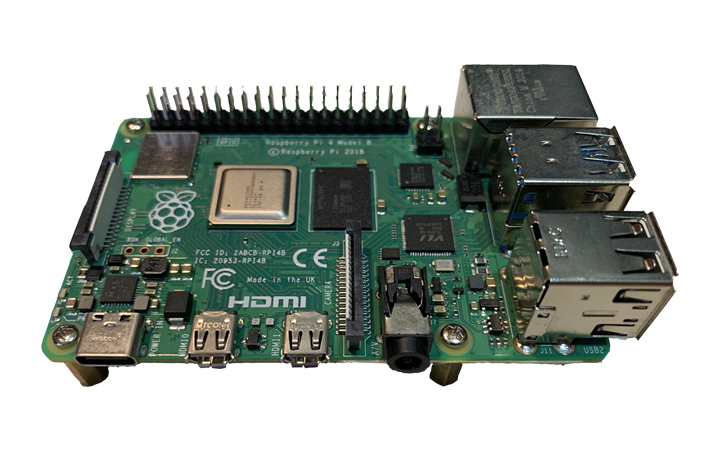
Every microprocessor will be a Controller in the system. You can connect GPIO ports, I2C Sensors and more to your Controller and configure them from the app in the Hardware section. Those resources will be controlled in the Organization.
1.- Connect your Raspberry Pi to the Internet
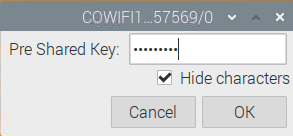
- You can use WiFi if your Raspberry supports it
- Also you can use the Ethernet port
- There is no special configuration required
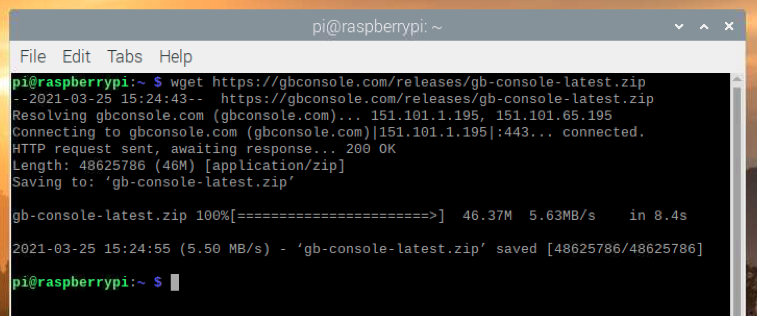
2.- Download GB-Console software in your Raspberry Pi
- Open a terminal window in your Raspberry
-
Use the following command: content_copy
wget https://gbconsole.com/releases/gb-console-latest.zip
-
Extract the file content_copy:
unzip gb-console-latest.zip
3.- Open an account in GB-Console APP (if you don't have one yet).
You will need to have an account and create one Organization to group all resources in one dashboard
GB-Console bridges gaps between hardware automation and people by providing a web-based user friendly console.
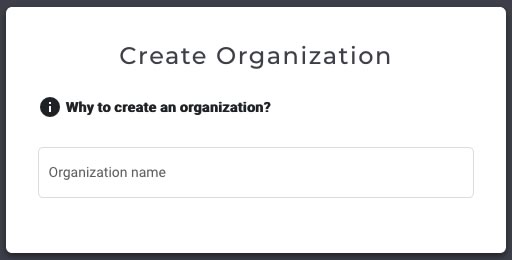
4.- Create an Organization in GB-Console APP (if you don't have one yet).
An Organization is the unit that groups all the devices, controls, schedules, automations and users that share the same resources in the dashboard.
You will be able to have type this of users in organizations:
- Members: Users that can have access only to the dashboard to turn ON/OFF the controls you configure.
- Admins: Users that can configure hardware and automations.
- Owner: The admin user that is responsible for system billing.
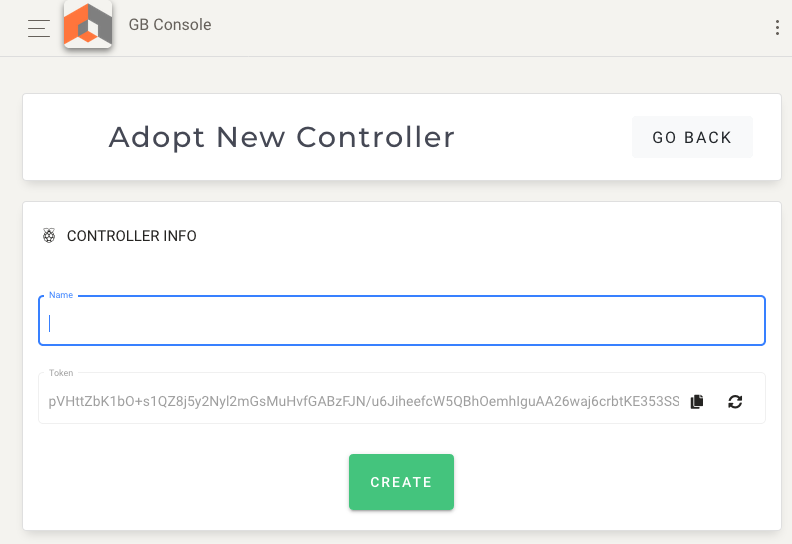
5.- Configure your first controller
- In the hardware section, click on "New Controller".
- Set a friendly name for your controller.
- Copy the token generated from the APP.
- Click on the "Create" button.
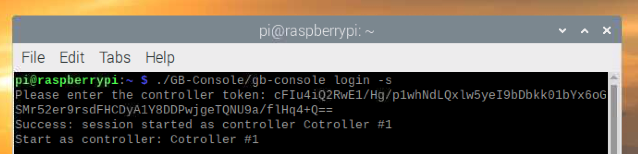
6.- Login your Raspberry Pi into GB-Console with the token generated
-
Use the following command: content_copy
./GB-Console/gb-console login
-
When prompt, copy the token generated in previous step and paste in the Raspberry Pi.
Insert your token: ___
-
Start GB-Console in your Raspberry Pi content_copy:
./GB-Console/gb-console start
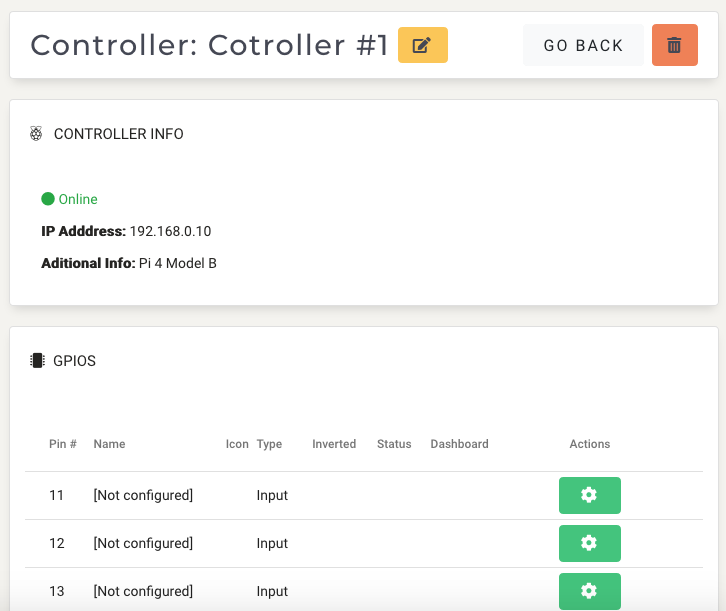
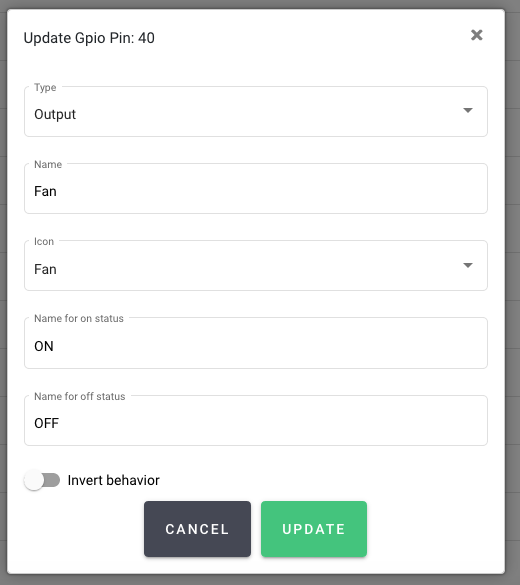
7.- Start configuring your GPIO ports from the APP
- In the Hardware section from the APP, you can configure GPIO (General Purpose Input/Outputs) Pins of every controller you connect.
- You can set any GPIO pin as an Output and use it for turn ON/OFF anything with a relay switch, for example.
- You can set any GPIO pin as an Input and with a Button, a PIR sensor, a Dry Contact that you what to use as a trigger for automation events.
- You can also choose which Outputs Pins can be activated from the APP Dashboard.
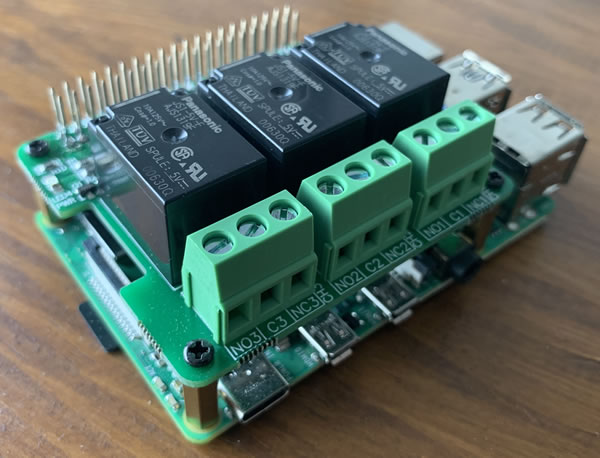
8.- Connect your GPIO pins to your hardware
- You can use a common relay driver, button or PIR sensor.
- You can also use specialized hardware Solid State Relays and much more.
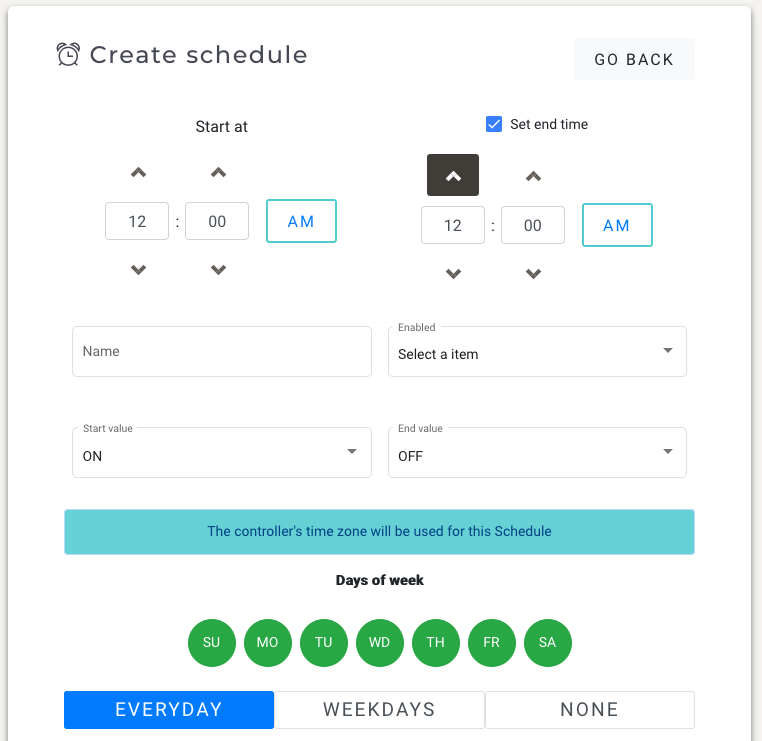
9.- Set schedules to optimize your day to day operations
- You can set start-time and end-time for turning ON or OFF stuff.
- You can set which days of weeks are the schedules working or not.
- You can use one schedule for multiple GPIO pins.
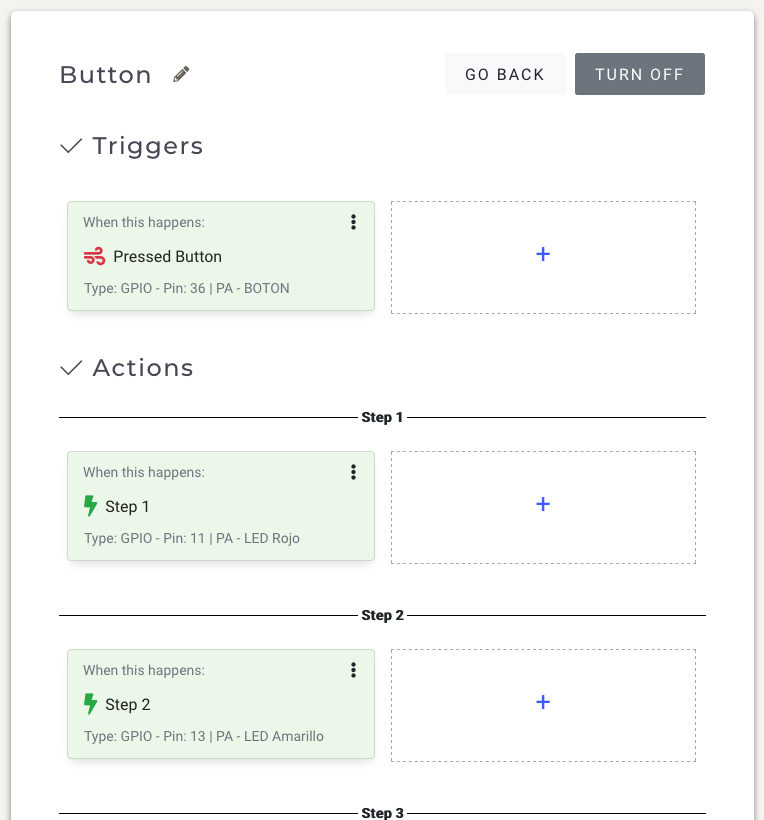
10- Make automations to optimize your operations
- First set a Trigger based on an Input GPIO port previously configured.
- Configure the actions that you want to execute when the Trigger is fired.
- You can configure as many actions you need.
Plugins are comming...
So, if you are a developer, you will be able to program your own actions and triggers to get the most out of GB-Console.
If you are not a programmer, you will find useful plugins that will make you a rockstar in hardware automation.